JDK KeyTool을 이용하여 Public, Private Key 생성할 수 있다.
Private Key부터 생성해보자.
keytool -genkeypair -alias apiEncryptionKey -keyalg RSA -Dname "CN=Daegyeom Kim, OU=API Development, O=ecplatform.co.kr, L=Seoul, C=KR" -keypass "test1234" -keystore apiEncryptionKey.jks -storepass "test1234"
Generating 2,048 bit RSA key pair and self-signed certificate (SHA256withRSA) with a validity of 90 days
	for: CN=Daegyeom Kim, OU=API Development, O=ecplatform.co.kr, L=Seoul, C=KR

apiEncrpytionKey.jks 파일이 정상적으로 생성된 것을 확인 할 수 있다.
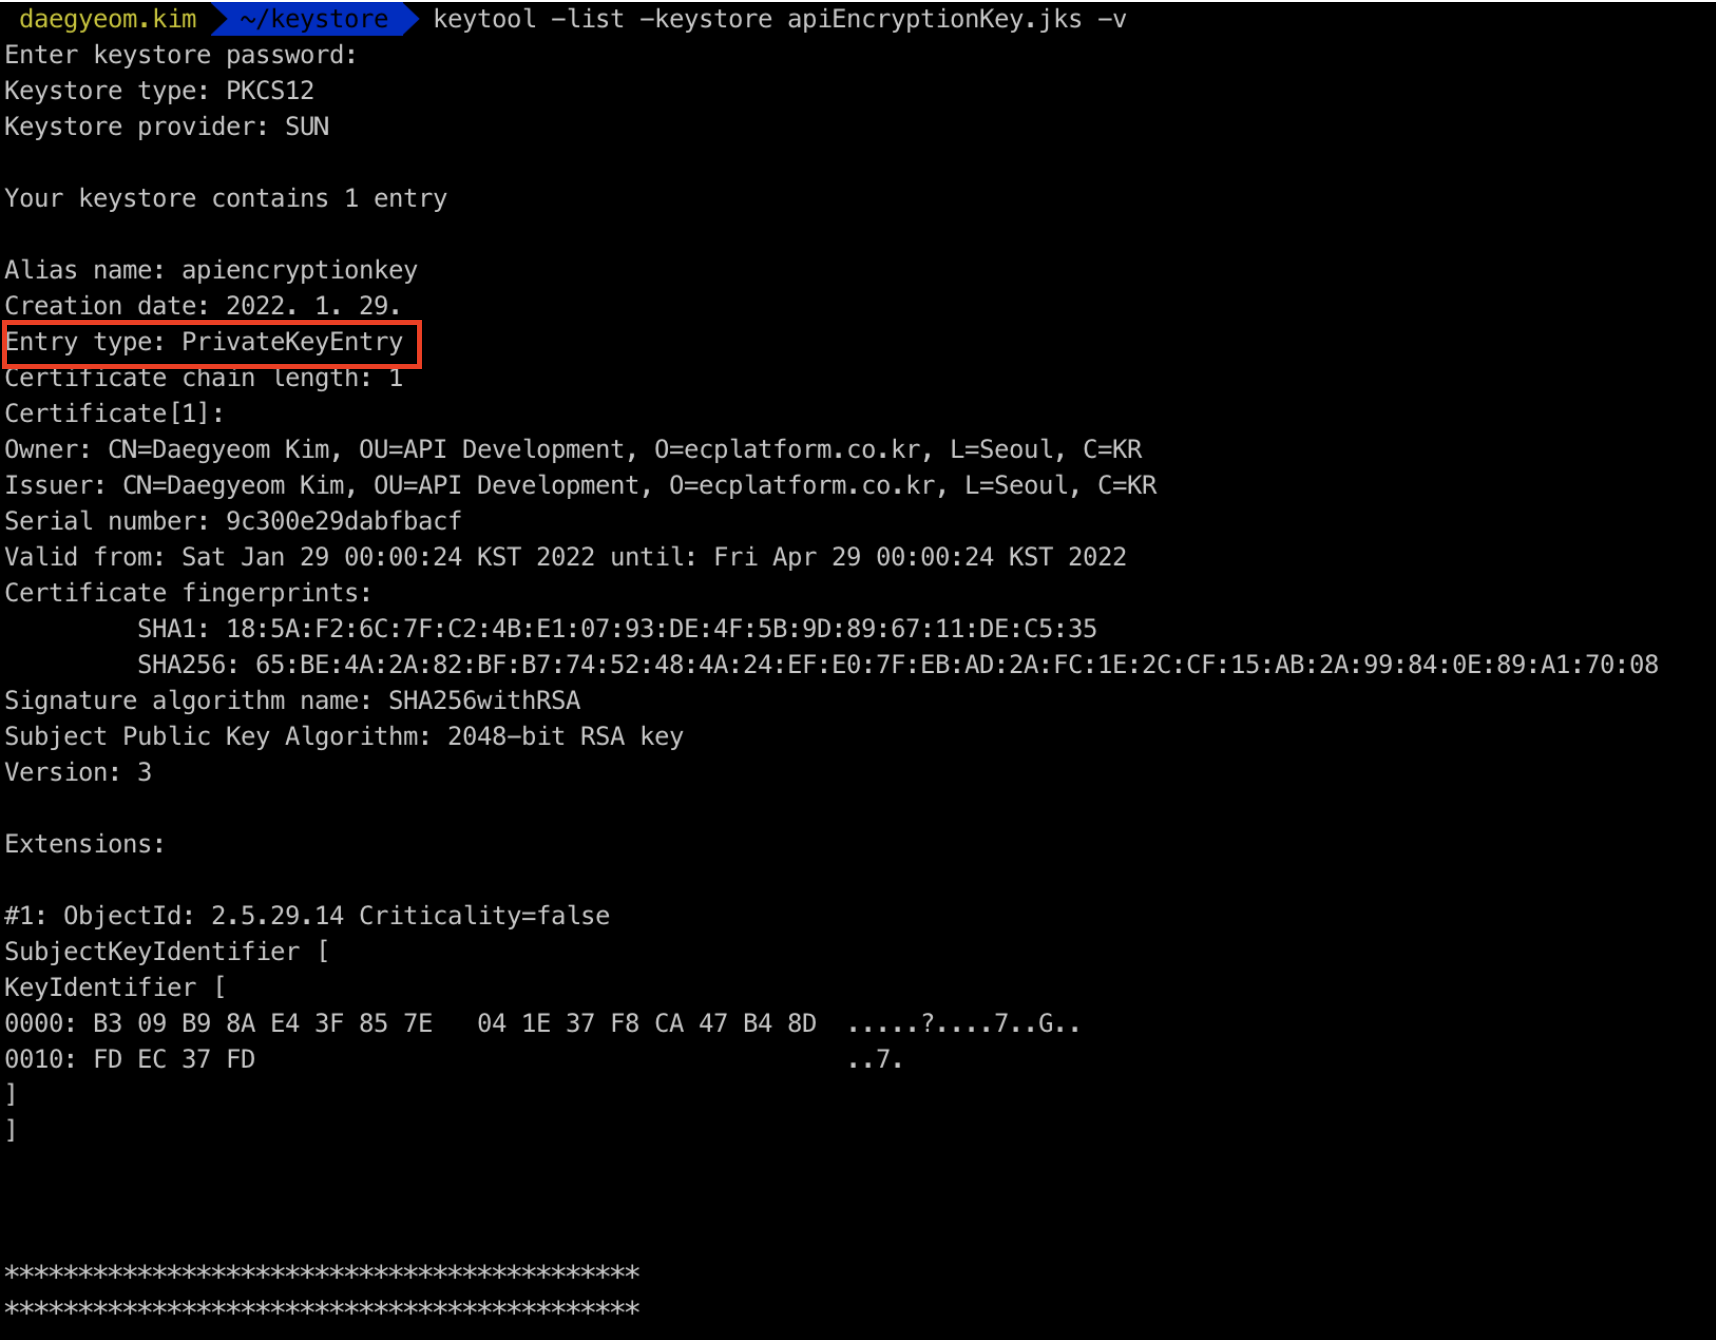
그러면 key의 Entry type을 확인해보자.

위와 같이, PrivateKeyEntry를 확인할 수 있다.
다음은 Public Key 생성을 위한 trustServer.cer 파일을 생성해보자.
keytool -export -alias apiEncryptionKey -keystore apiEncryptionKey.jks -rfc -file trustServer.cer
trustServer.cer이 정상적으로 생성된 것을 확인할 수 있다.
이제 trustServer.cer을 이용하여 publicKey.jks를 생성한다.
keytool -import -alias trustServer -file trustServer.cer -keystore publicKey.jks
publicKey 생성을 완료하였다.
keytool -list -keystore publicKey.jks -v
위와 같이, Entry Type 도 trustedCertEntry로 결과가 정상적으로 나온것을 확인할 수 있다.

이제 Config Server bootstrap.yml에서 key store를 설정하자.
우리가 생성한 apiEncryptionKey의 정보를 다음과 같이 작성해주면 된다.

이제 Config Server의 암호화/복호화 기능이 정상적으로 동작하는 지 Postman을 통해 확인해 볼 수 있다.


Postman을 통해 encrypt & decrypt가 정상적으로 동작하는 것을 확인해 볼 수 있다.
이제 기존에 사용되던 db password 1234 대신에 ecrypt를 통해 생성한 암호 키를 넣어주면 된다.

이제 마지막으로 Postman을 통해, propertySources를 확인하여 Security기능이 정상적으로 동작하는 지 확인하면 된다.

spring.datasource.password가 정상적으로 출력되는 것을 확인할 수 있다.
'Spring Framework.' 카테고리의 다른 글
| DI & IoC의 개념정리 (0) | 2022.09.14 |
|---|---|
| Mockito를 이용한 Service Layer 테스트 (0) | 2022.02.06 |
| SpringBootTest vs WebMvcTest (0) | 2022.02.06 |
| Mockito vs BDDMockito (0) | 2022.02.04 |